
Carter/Edlebrock Carb Modifications
|
Tech information furnished by Brian Swearingen 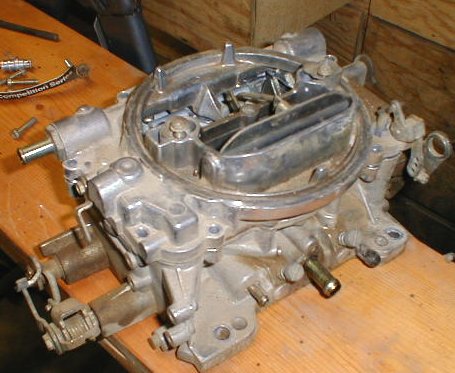 The Carter AFB carb and the Edlebrock Performer series carbs are essentially identical in their operation and setup for offroading. Both carbs consist of a square-bore design with mechnical secondaries. Both also use a vacuum controlled stepped metering rod system on their primary circuit to differentiate between a cruising and a power mode. Careful adjustment of the metering rode diameters combined with different primary jets can tune a carb specifically to your motor and driving expectations. Additionally, different springs are available to allow vacuum pressure to effect the power circuit quicker or slower depending on your needs. If you are really interested in all the little tweak tips that you can perform on the AFB/Performer carbs, I suggest purchasing the SA-Design book on Carter Carbs. I've got it and it contains much more information than the normal offroad driver will ever need. There are three primary adjustments you need to make in order for the Carter/Edlebrock to perform adequately offroad. The first and foremost is the spring-loaded needle and seat. Carter is wise enough to install this setup from the factory, but Edlebrock uses a solid needle/seat arrangement in their carbs. This solid arrangement won't effect your street performance, but everytime you hit a bump offroad it dumps extra fuel into the bowls. This make for some unpredictable driving. The replacement parts are maybe $20 and well worth the expense for the offroadability.
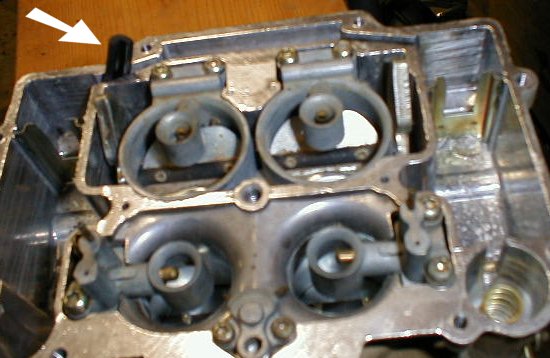
 The next step is adjusting your float. The tops of these carbs come off quite easily. Loosen the two small screws holding the metering rods in place and remove the rods, plungers, and springs. Now remove your fuel inlet hose and the choke conections. Also remove the two tiny spring clips that hold the main and secondary throttle linkage in place (DO NOT lose these!! I carried spares with me for trail losses). Next remove the 10 screws that hold the upper and lower portions of the carb together. Be sure to remove the threaded rod that holds your air cleaner down as this is threaded into the lower portion of the carb body. Lift the upper straight up and flip it over. Careful, cause some fuel will escape. Factory float height is set for 9/32" gap. I tend to reset mine to about 5/16" or even a tad lower, like 3/8". The easiest method of doing this is with a needle nose and a drill bit. Simply lay the body down as shown and bend the float carefully until it just touches the drill bit when resting. (Shown is a 5/16" drill bit)
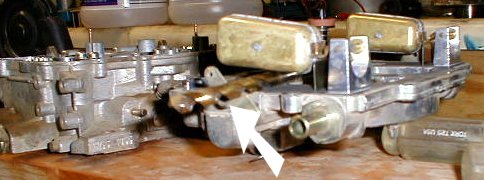
 Your last modification is designed to control fuel slosh during extreme off-camber sections. First, cut a 1" long piece of vacuum line. Now split it down the middle length-wise. Wedge each half into the openings in the main body of the carb as shown above. This will allow minimal air/fuel balancing but not the rush that would occur with the large factory opening. I've been fortunate and haven't had to replace many of the gaskets between the upper and lower carb body. If you are careful, the gasket should survive at least 4-5 teardowns. Once these mods are done, simply reassemble the carb in reverse order of above and you are all set.
|