
FJ40/minitruck Hybrid Rear Axle
|
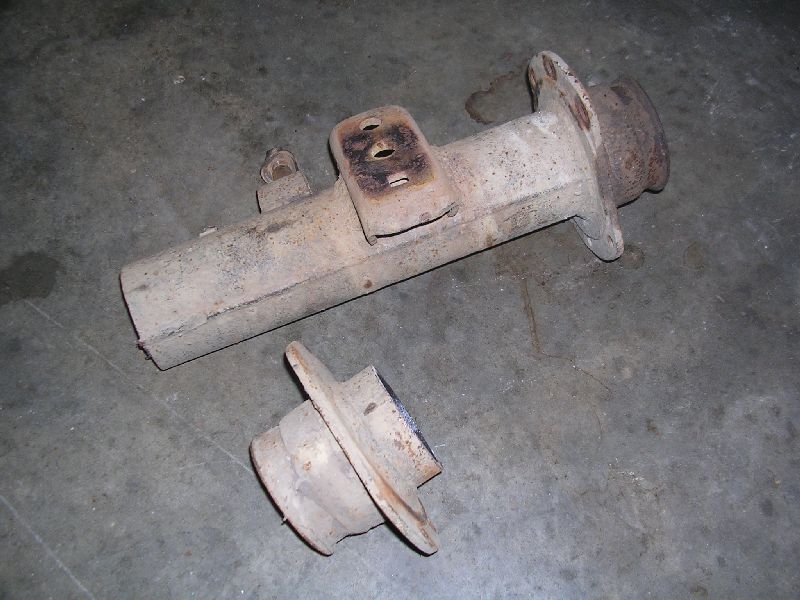
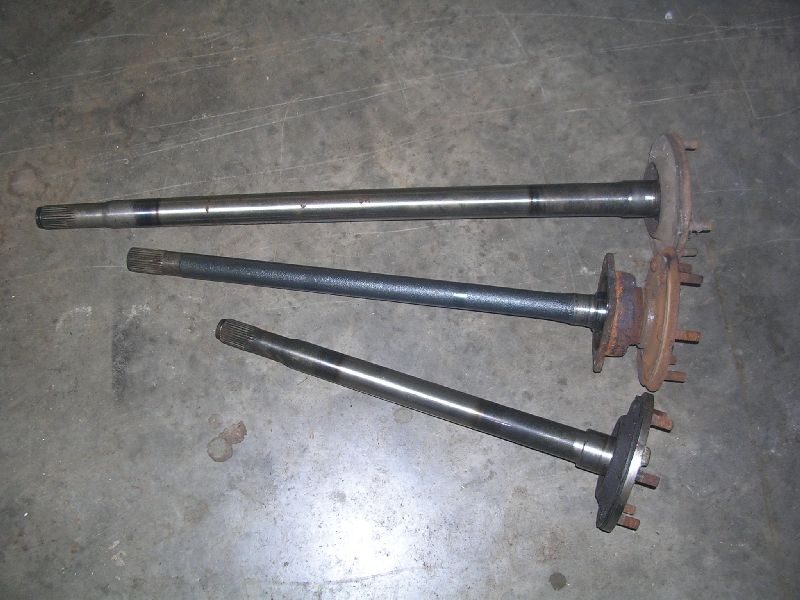
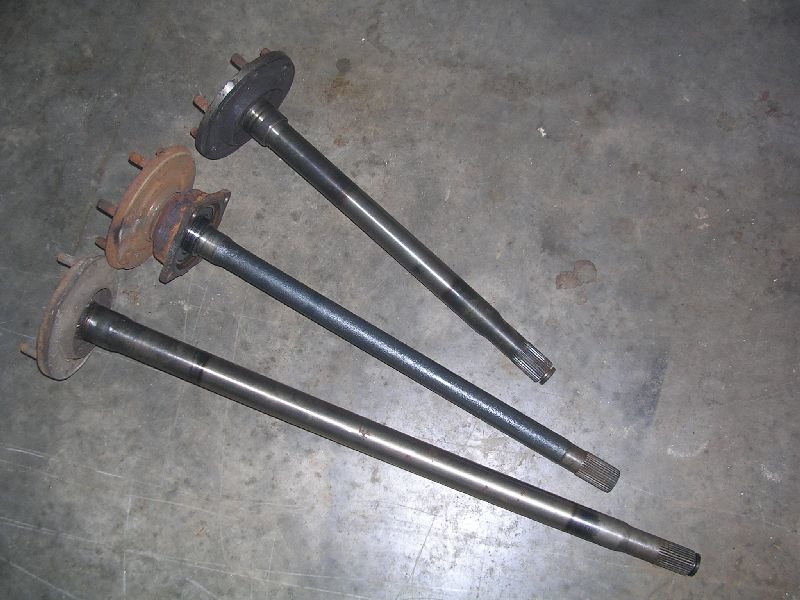
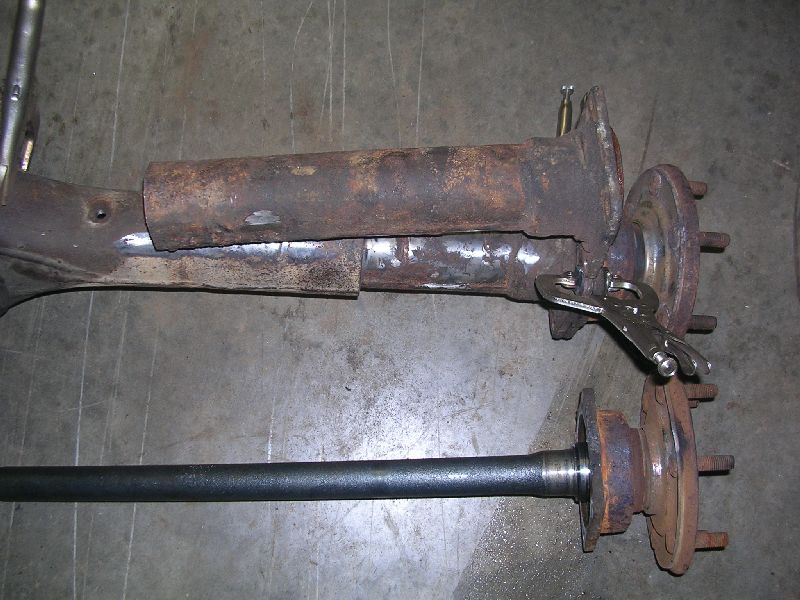
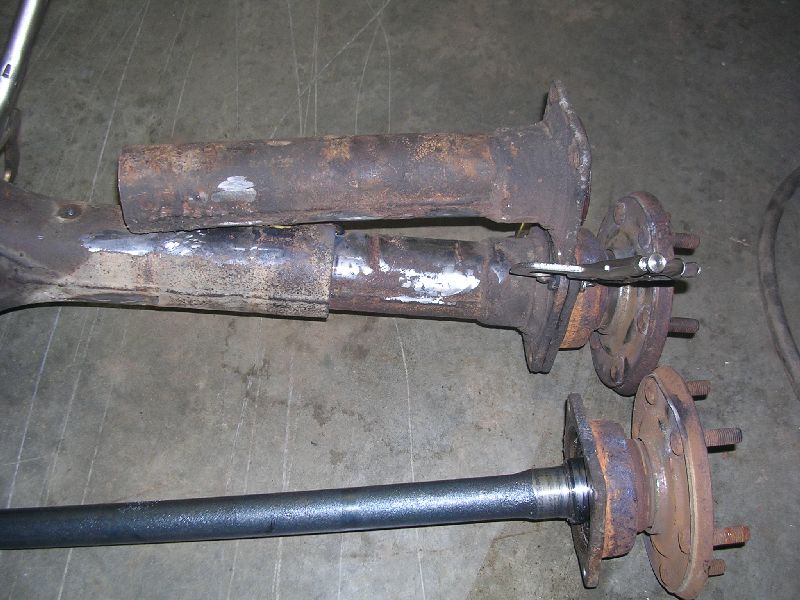
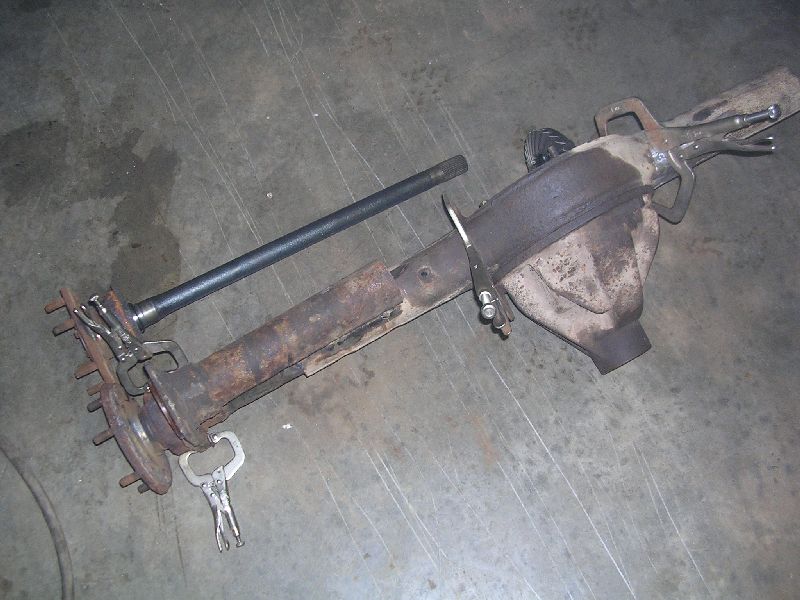
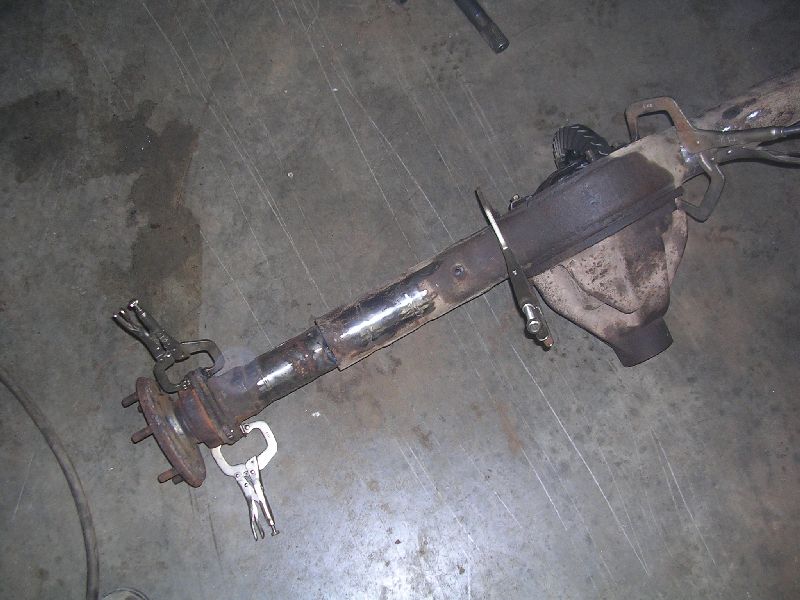
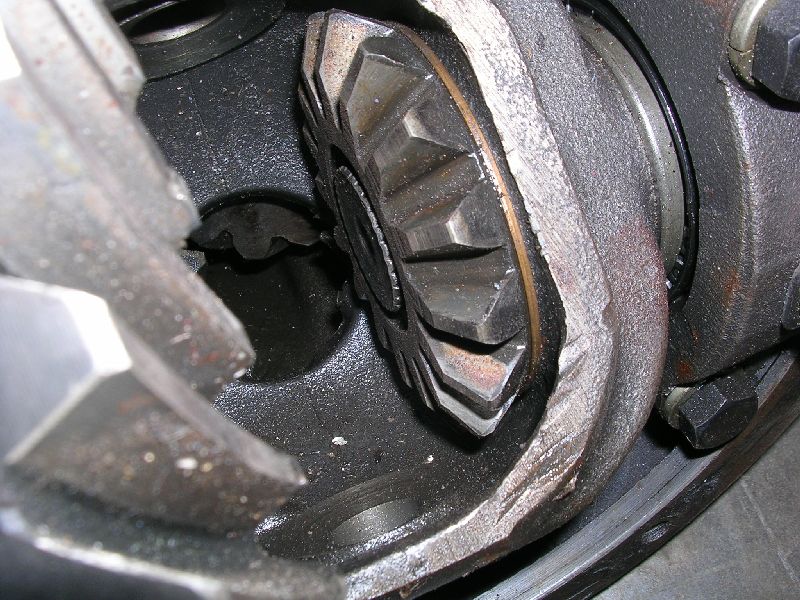
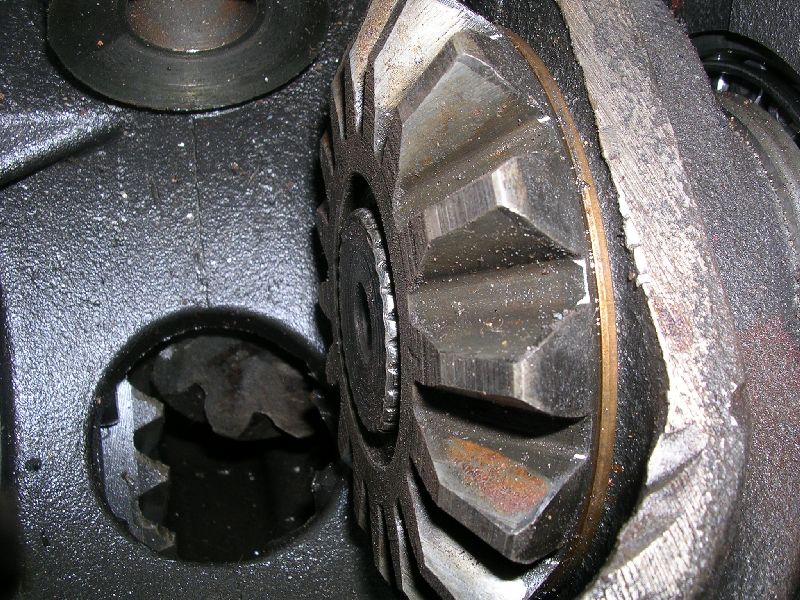
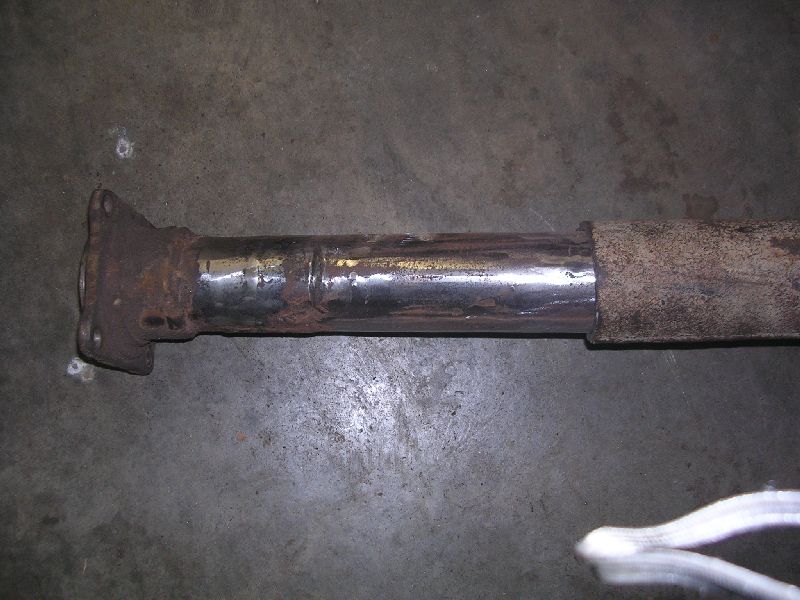
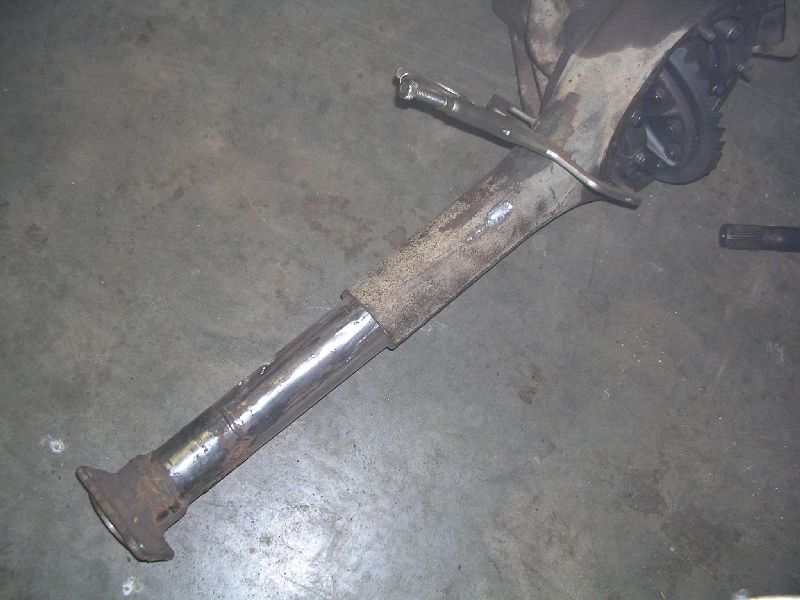
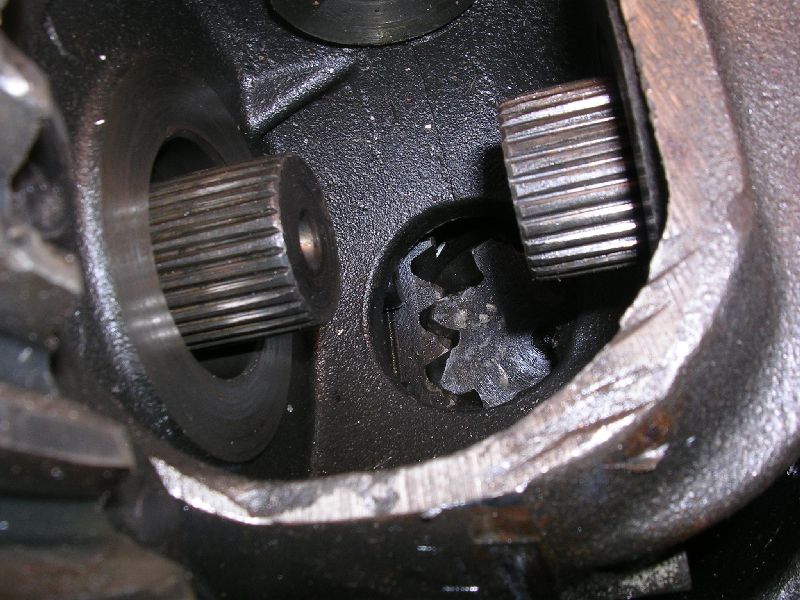
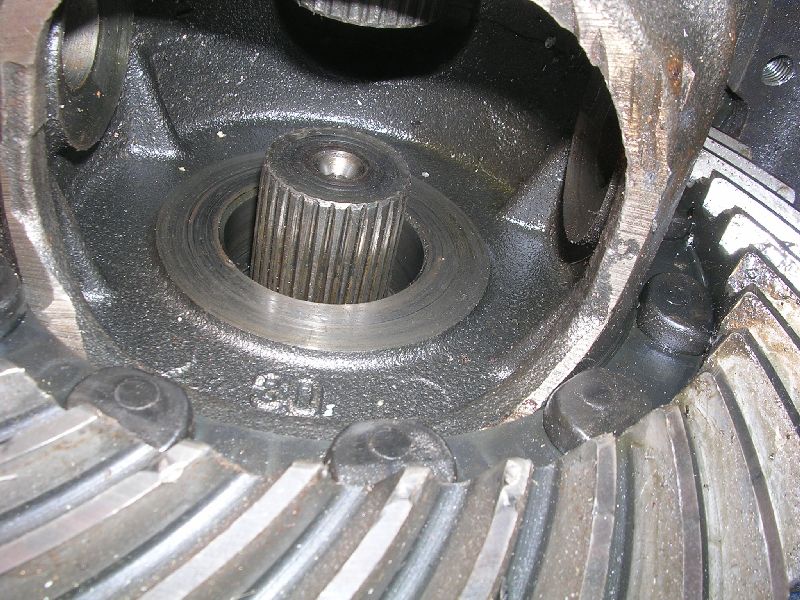
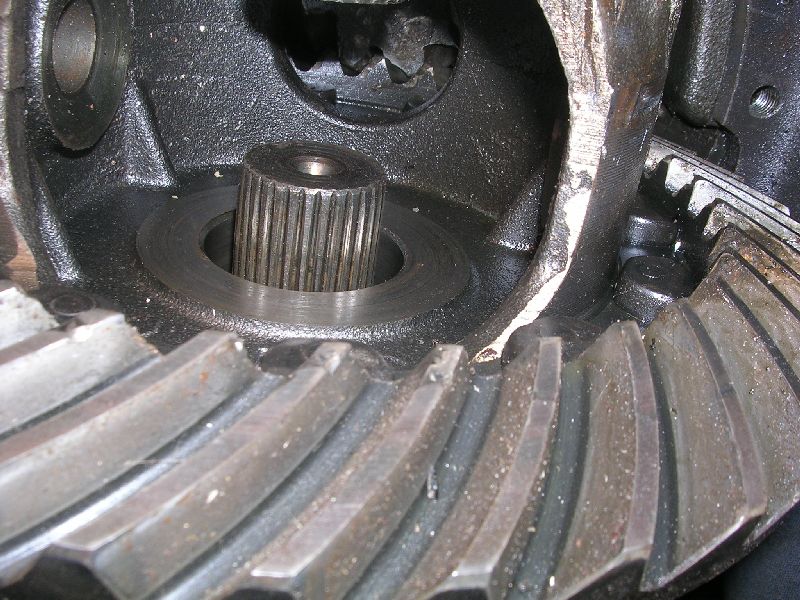
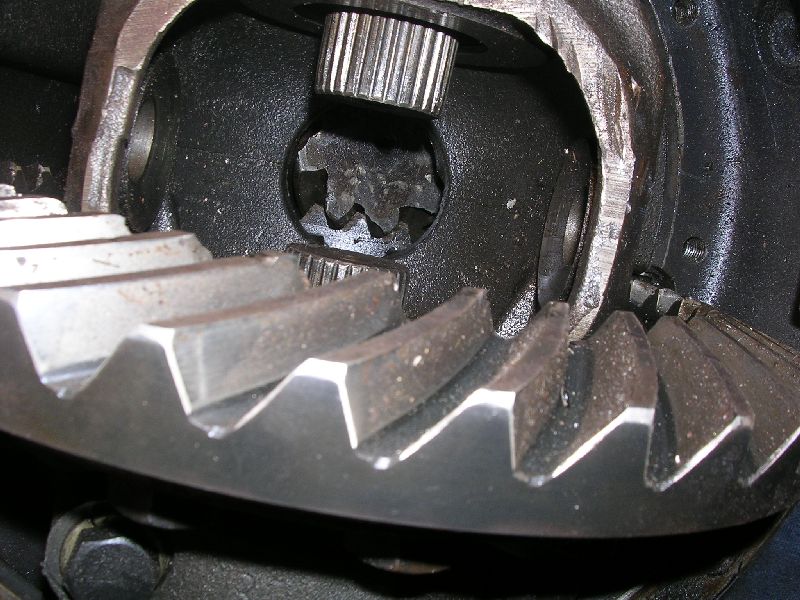
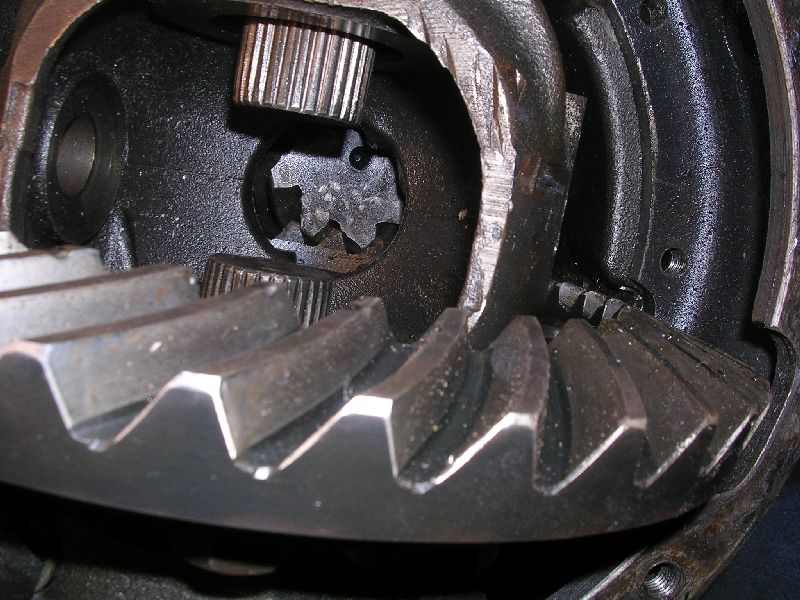
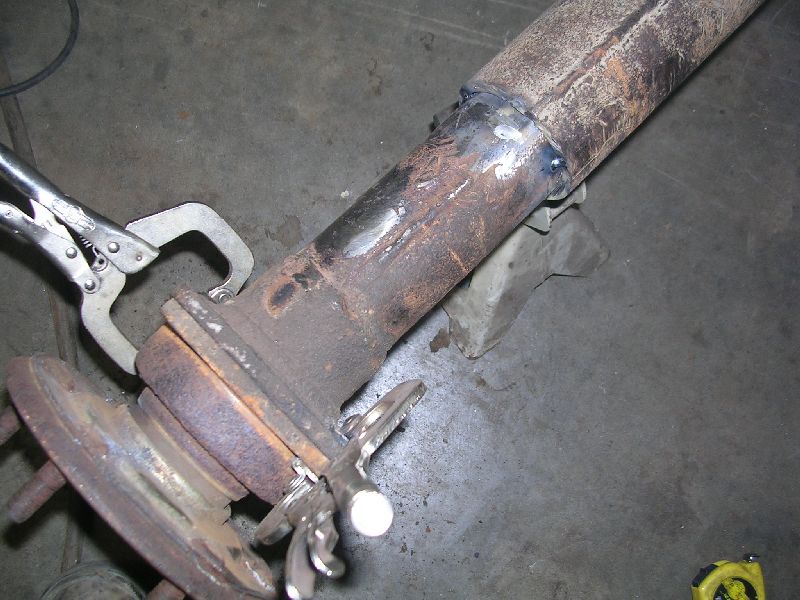
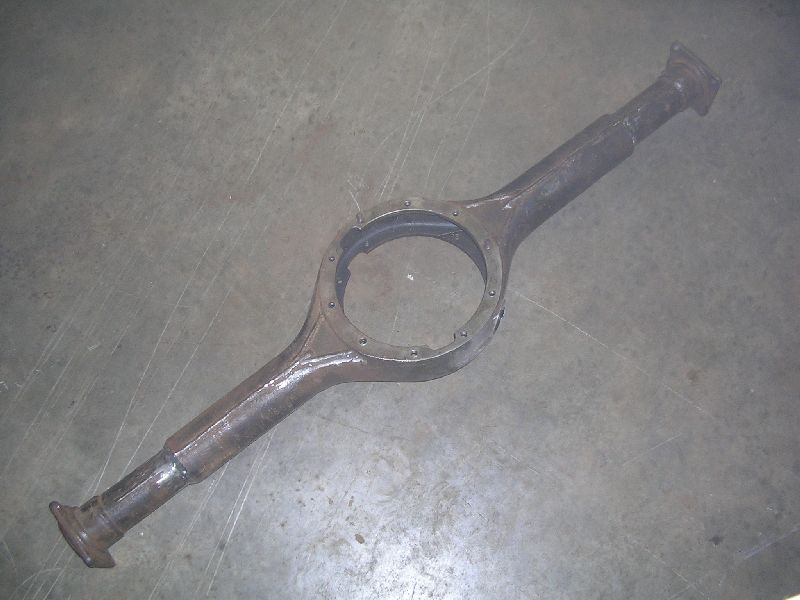
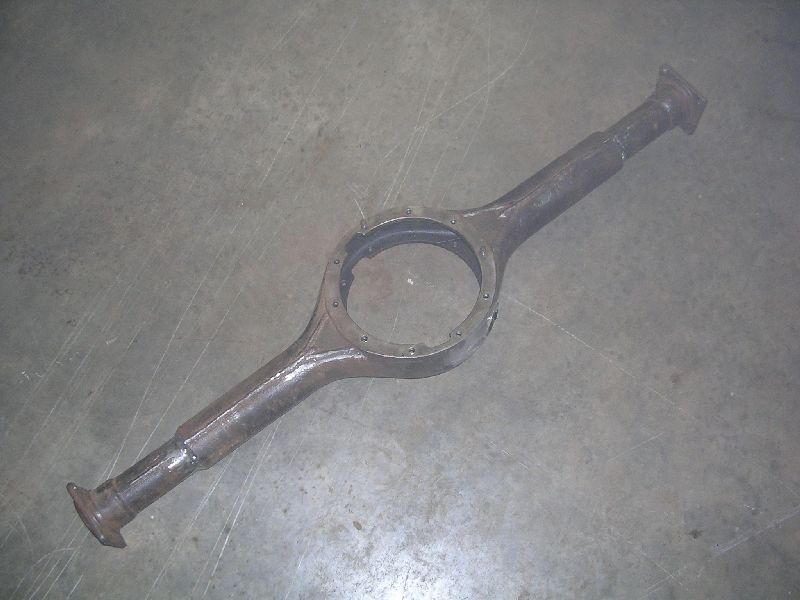
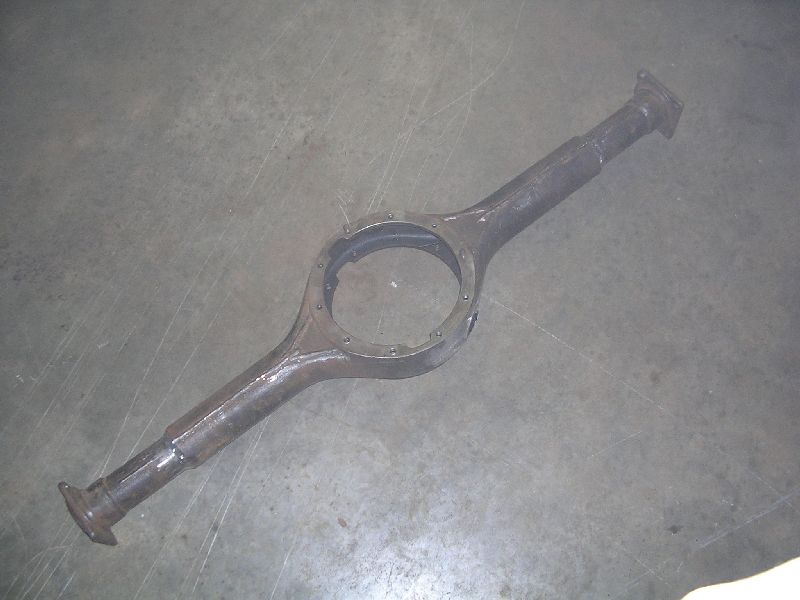
Tech article by Brian Swearingen As many of us design and modify our rigs to meet our needs, you may find yourself progressively adding non- Cruiser parts into the mix my Winter 2005 list of projects included installing an automatic transmission and a transfer case that would allow for front-wheel-drive only. Without going into the why aspects of front dig, just know that there are limited transfer cases capable of this function, and all of these options are best used with a centered rear differential. My approach to this project was to be cheap and make my own hybrid centered rear axle housing enough fundage had already been spent on the transmission/transfer/driveline (and tires, rims etc ). I could have done it REALLY cheap, and just dropped in a stock 1985-older Toyota minitruck rear axle, but they are known to have case strength issues. Additionally, I had a proven cryo-treated coarse spline ring and pinion, and a proven welded center section that I wanted to reuse and long-term testing on these parts isnt done. The process is really quite a bit easier than I realized you need two major components: an FJ40/55/60/62 rear housing including center section and a minitruck rear housing including shafts (and, optionally, brakes). The tools are also pretty basic a good welder, a sawzall, an angle grinder, a large slip-joint pliers, and a tape measure. (A couple quick facts: the axle splines on the minitruck shafts are identical to those of a Cruiser, 30- spline. Also, 1985-older minitrucks are 55 WMS (wheel mounting surface), same as the FJ40 and FJ55, while the 1986-newer minitrucks are 58 WMS, same as the FJ60/62.) The process is simple. Begin by cutting the empty Cruiser housing twice...first cut the short-side of the housing just inside the outer axle flange. Then cut the long-side to match. With your angle grinder, smooth up the rough edges and get them relatively square perfect is not necessary. Next cut-up the empty mini housing you want these cuts as close to the center of the housing as possible, just prior to where it flares. Again, clean up the ends you are keeping with the grinder. Once done, you should have 3 pieces of scrap and 3 pieces for assembly. The OD of the minitruck housing is nearly identical to the ID of the Land Cruiser housing a little grind work on the seam welds of the mini housing, and some gentle persuasion, and it will slide inside. The critical portion of this project is the alignment. To do this, install a Cruiser center section in the housing, with the crosspin, side gears, and spider gears removed and the carrier and bearings still installed (really, for all purposes, the ring- pinion are not required either, should you have a spare junker to work with). Bolt in as if it were final installation. Install one of the minitruck rear shafts (they are identical length) and bolt it securely at the flange. With a hammer, persuade the mini housing to slide further into the Cruiser center until the shaft splines just emerge into the carrier slip-fit the stock side gear/thrust washer into its seating race and onto the shaft splines. You want the splines of the shaft to just barely protrude thru the side gear. With your grinder, do a little cleanup work on the mini housing to ensure a good weld. Now check the rotational alignment of the mini housing rotate with the slip-joint until the weld seams align. (This is somewhat critical on the first one, but VERY critical when doing the other side, otherwise your flanges wont be rotated the same mine ended up a few degrees off, and it drives me nuts ) Tack weld the seam at 4-5 places, check alignment again. Dont burn it in hard just yet. One test to see how well aligned the shaft is inside the housing is to remove the side gear. The gear should remove relatively easily. Now, rotate the axle flange, and see how centered the shaft splines are inside the housing mine were dead on, no misalignment and no wobble. Once you are satisfied with the alignment, reinstall the side gear/ thrust washer, and triple check that you have sufficient spline contact. Once aligned and checked, its time to finish welding the two pieces together. To minimize heat induced warping and twisting, I welded mine in 1 stitches in 3 places around the housing circumference. The minitruck and Cruiser housings are steel, so there is no special prep required, just be sure that the weld surface is clean metal. Once completed, the second mini housing installation effectively mimics the first. The only difference is trying to get the rotational alignment between the two outer tube end flanges the same, or close. Also, some of the more common bolt on disk caliper brackets rely on the orientation of the flange to make sure that the brake can bleed properly. From a performance standpoint, I dont believe it matters of course, now everyone knows mine is a few degrees off...oh well With both ends welded in, axle assembly is pretty standard. There are no longer any c-clips to worry about and no need for the center block. Should you break a rear shaft, it will no longer wander out, plus the removable rear cover will aid in any inspections/repairs you may need to make. Finally, since left and right minitruck shafts are identical, you only need one spare. Brakes are a matter of choice you can keep the stock minitruck brakes and take advantage of their single- piston setup and built-in emergency brake, or you can purchase or fabricate your own disc brake setup. Since I had run GM calipers on my old FJ40 axle, I opted to customize some brackets. A quick search at AA-Mfg.com and I located the perfect pieces for under $10 each. Some design time, modification work, and welding, and the brackets ended up working perfectly. The rotors from my FJ40 rear disc conversion are machined too large though, so you should consider getting a pair of those done properly (and not just tack welding the rotors to the axle flange like I did poor form, seriously ) One other note, since I run a 4-link rear suspension, I purchased link tabs from AA-Mfg for the leaf spring folks, one of the more common options is to use perches from Mopar...believe they are $15 a pair. Youll obviously need to address shock mounting, brakes lines, breathers, and other issues as well, but the hard part is the housing itself. Like any backyard hack, I tackle projects for two reasons primarily, I great deal of satisfaction from the challenge and the fabrication portion. Of secondary importance, Im cheap. I somehow seem to have the time to tackle these projects, and while there are a couple quality vendors who can furnish centered housings at a fair price, I like the fact I saved some money to dump into future projects. Lastly, the test weekend for this axle (and the balance of my drivetrain) was at the 2005 RoundUp event hosted by the Lone Star Land Cruisers. Despite brand new 39.5 tires, a 4:1 transfer case, and my inexperience driving an automatic transmission, the rear axle performed admirably, both on the trail and at highway speeds. Ill keep ya posted on the long-term results . UPDATE: September 8, 2005.... Well, no shaft breakage yet...it's survived nicely. I did finally junk the cryo'd coarse pinion, so I tossed in a 62-series 4.11 fine spline gearset....4 hard trips on that with no problems. More abuse pending! PICS: 


Written March 2005, published in Toyota Trails in July/Aug 2005, Posted September 8, 2005 |