Cutting and Turning Overview:
If you think that you are not up for the task of cutting and turning, several companies cut and turn axles for people, including Cruiser Outfitters and Proffitt's Cruiser's. Proffitt's even offers a SOA kit. It is usually about $150-$200 to buy a cut and turned axle + core charge. **If you are thinking of
doing a Shackle reversal (see page 7
later in the article to read about them), do the shackle reversal BEFORE
you take measurements for your cut and turn.
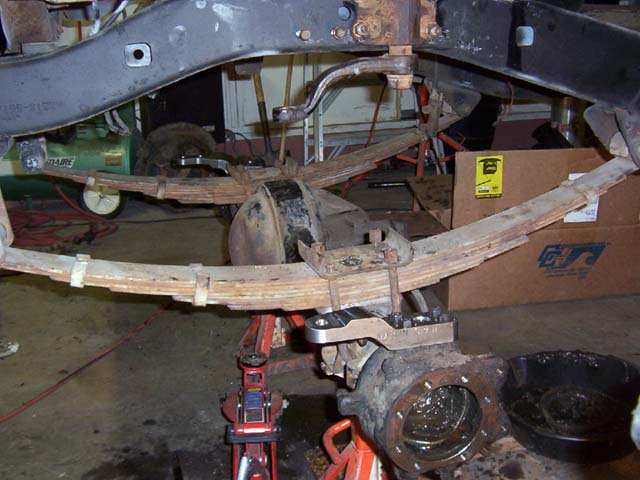
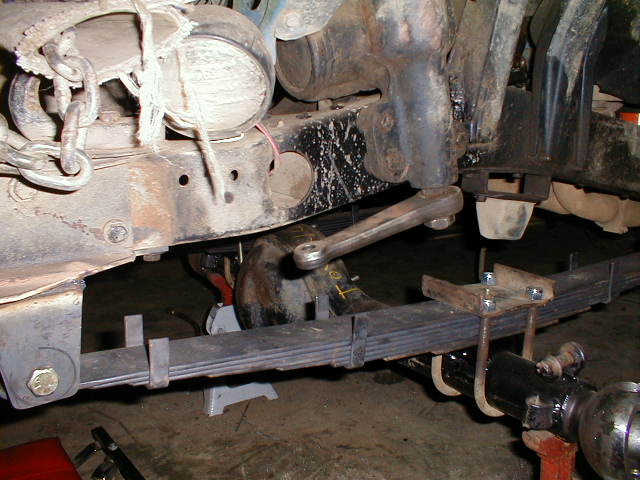
A good, unofficial description of cutting and turning is basically: "a way to correct your steering on your front axle because you are rotating your pinion up toward your transfer case." Because you are lifting your rig so much, it will create fairly "extreme" front axle angles if you do not cut and turn. Here is a photo of an axle before cutting and turning - you will see the front pinion output is level - exiting at 90 degrees. Because you are lifting the rig so high, you want to rotate the pinion up, out of the way of rocks, and up, towards to the transfer case front output, to get a better u-joint angle. Otherwise it can bind and cause something to break. A front axle, sprung over,
before cutting and turning, with the weight of the
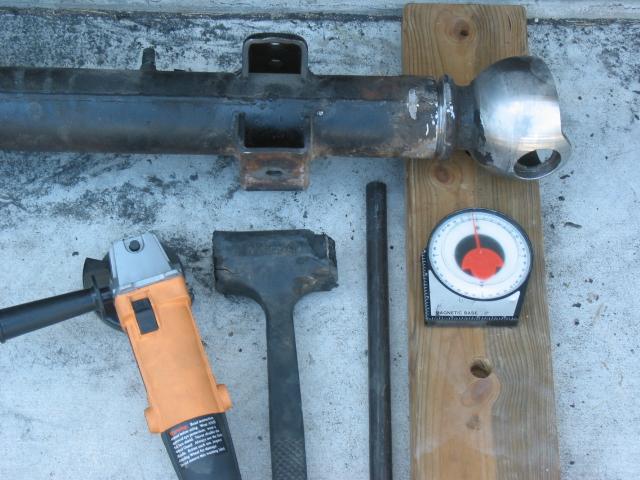
First, take your measurements:
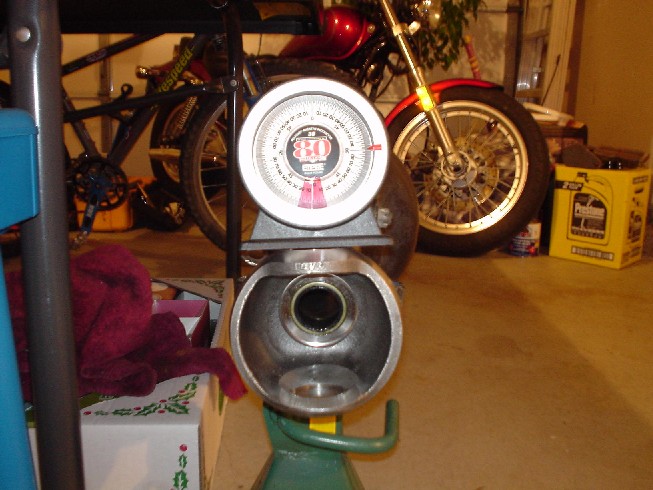
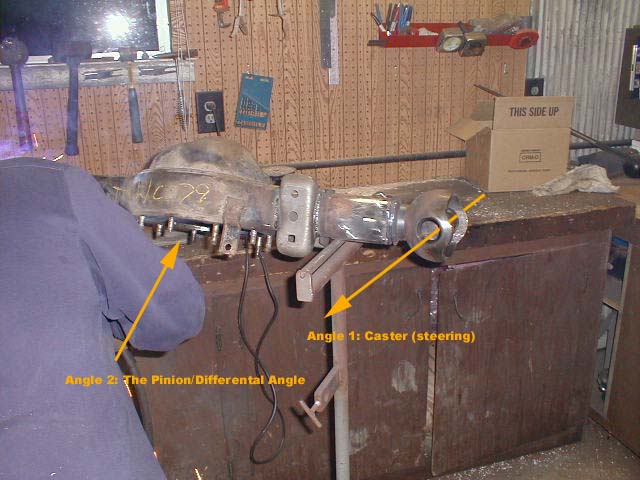
For Steering and Caster
measurements:
C&T in a vise or
on the rig?
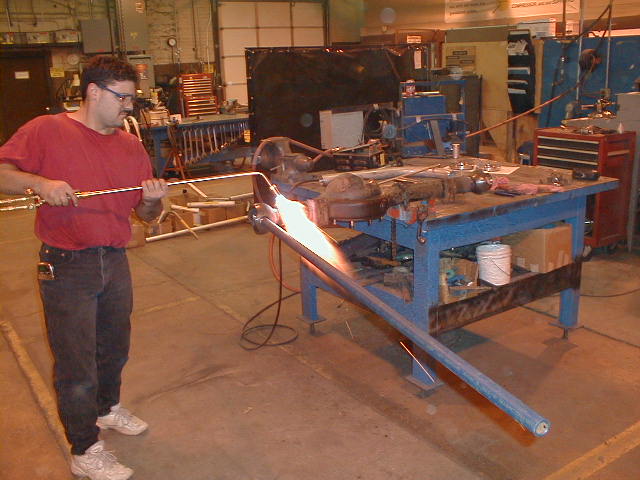
Actually Cutting:
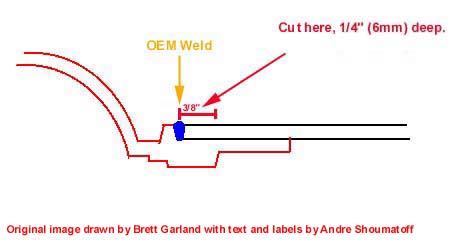
Next, cut the axle just a
hair inside of the OEM weld:
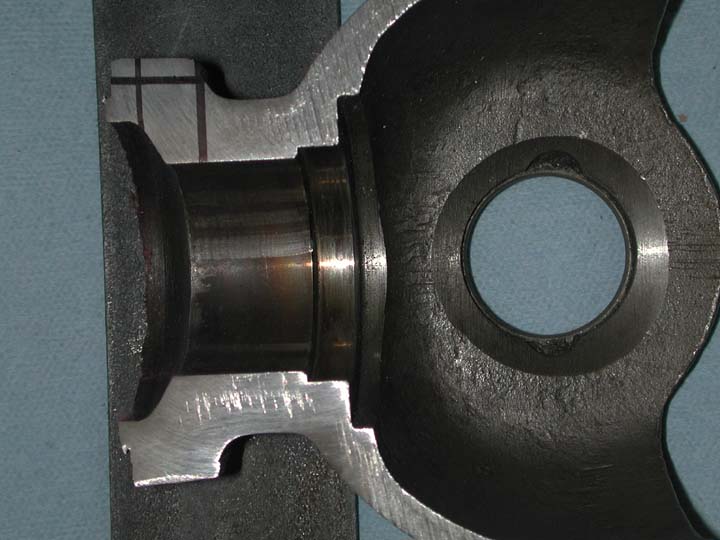
You want to cut about 1/4" wide and you should visibly see the line between the outer and inner axle sleeves. In the photo above, the inner sleeve is red, while the outer is black. Do not cut too deep, the outer sleeve is exactly 6mm wide. The trick is to cut consistently 1/4" (6mm) deep completely around the outer perimeter which is why a pipe cutter does such a good job cutting and turning. (actual cutaway photo courtesy Jack Rice) Turning:
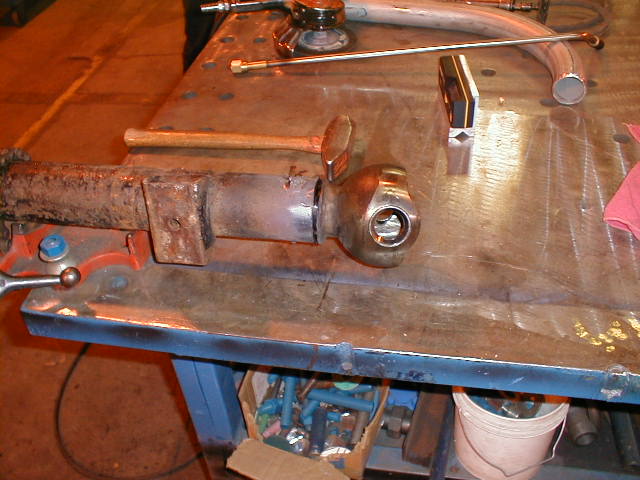
Here you can see the bearing
races, kept in place to turn the housing. You can also see where
the axle was cut and turned:
Once down to the bare housing,
you can use a variety of devices to cut. The most popular one is
a large pipe cutter, but you have to grind down the old welds and bump
stops before you can use it. It does make the nicest and cleanest
cut, though. You can also use an angle grinder with a cutoff wheel,
and simply widen the cut later with a grinding wheel.
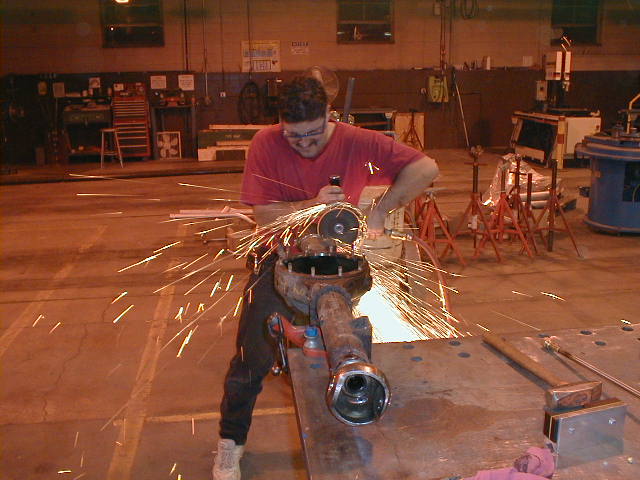
Another example of a good
cut with an angle grinder:
You want to go about a hair or two deeper than 1/4 because that is the thickness of the outer axle. The knuckle housing is sleeved into the axle, so there is an inner and outer layer, with the only thing keeping them together being the visible OEM weld at the end of the housing. Then weld it all up, bolt
it back under the truck, and put the axle back together!
Next page:
|